
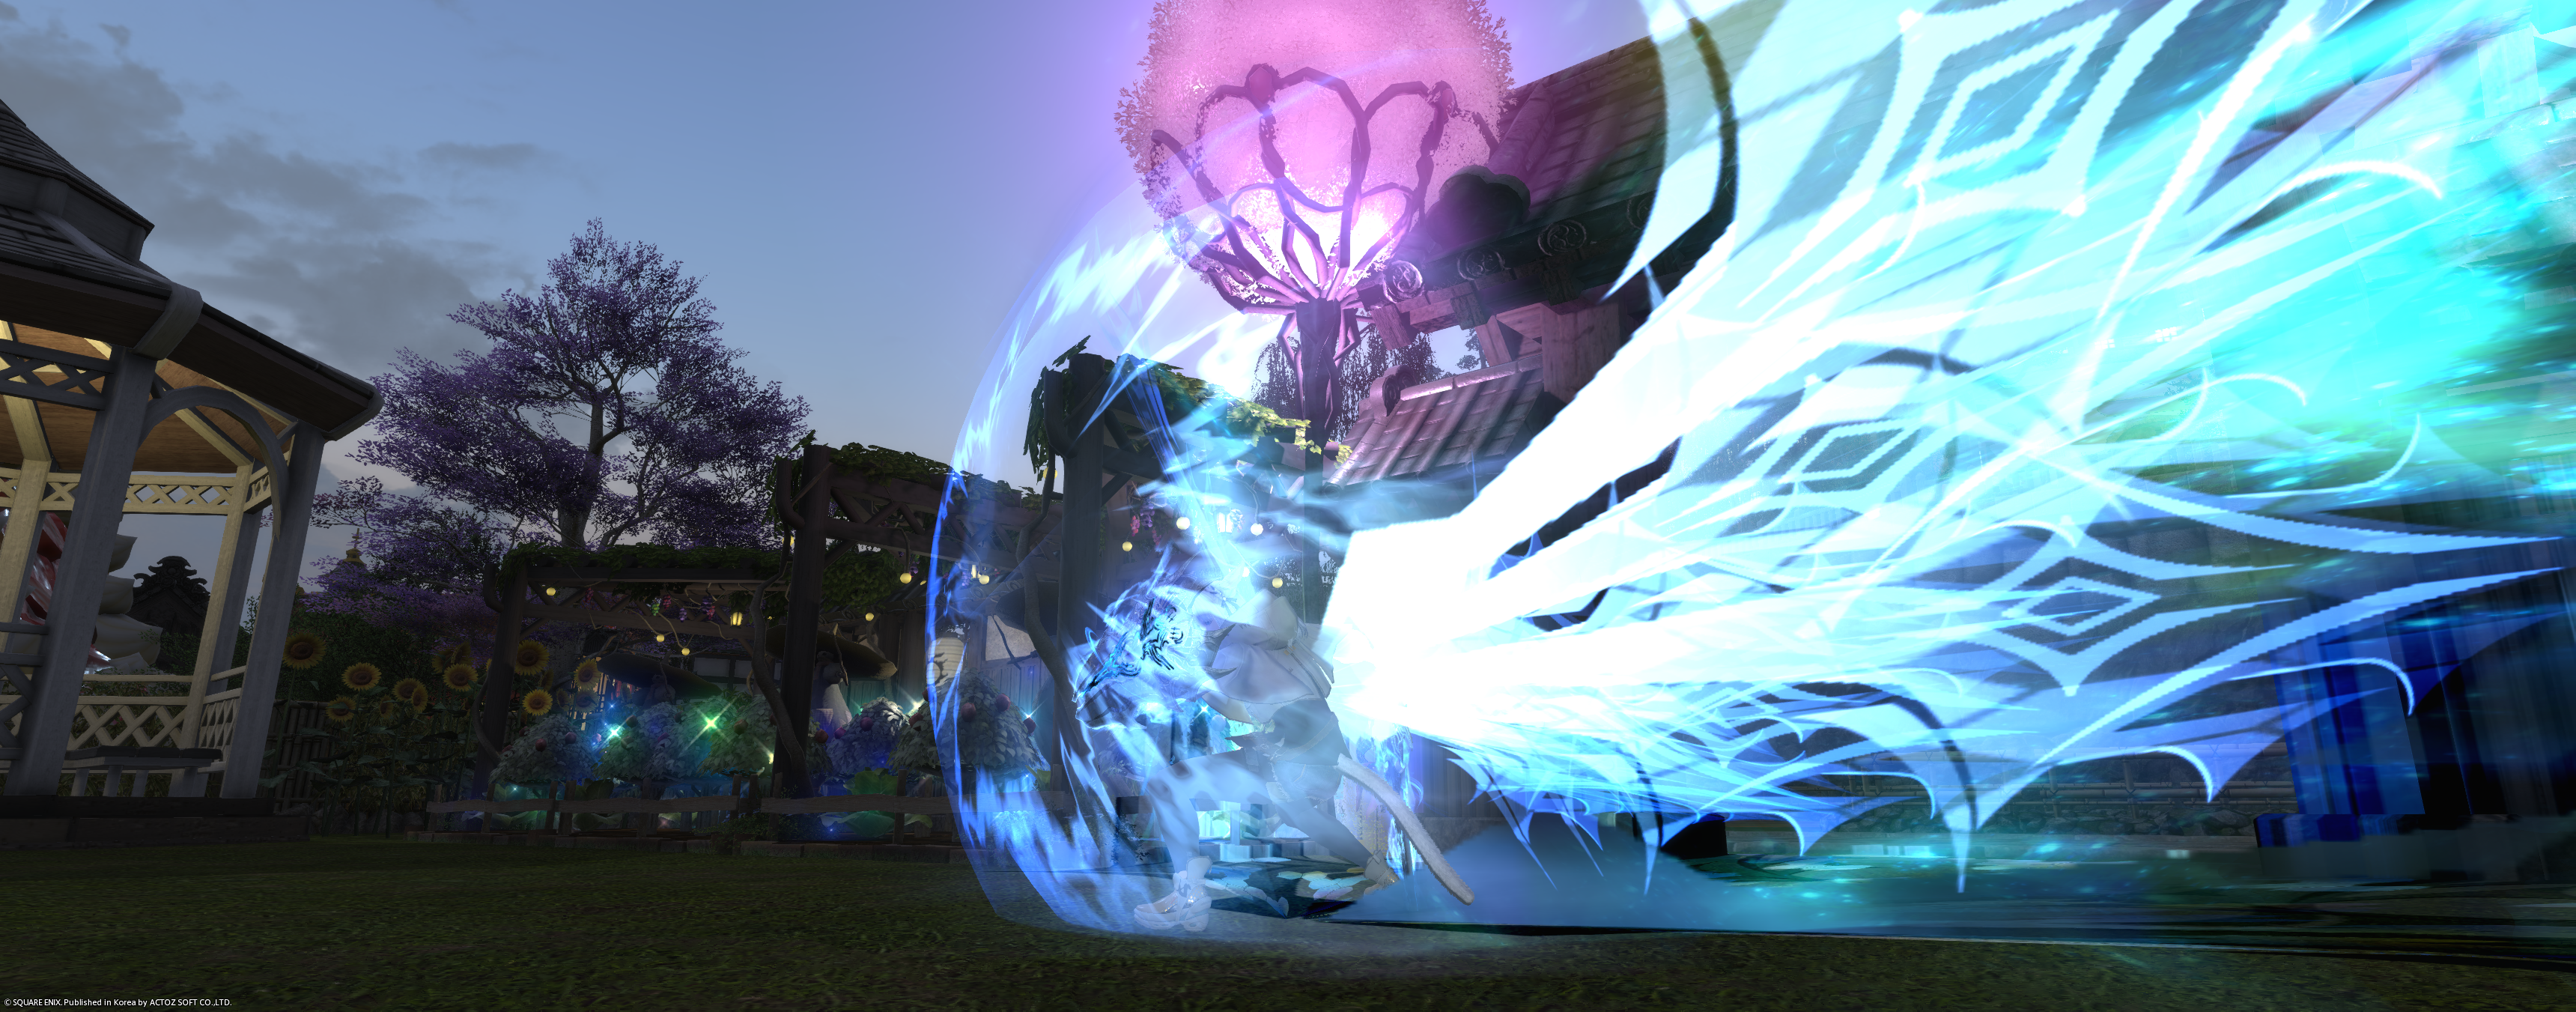
So, you decided to become a tank.
Congratulations.
You are now the person who gets to stand in front of everything, decide how much the party pulls, and occasionally watch a mob run straight toward the healer because you forgot to hit it.
Don't worry. It happens.
Tanking in FFXIV isn't really about being invincible. It's about paying attention, controlling the situation, and making things easier for the other three people in your party.
I've done a lot of dungeon tanking, and these are the things I personally pay attention to.
1. Check Your Tank Stance
 |
 |
 |
 |
The very first thing I check when I enter a dungeon is my tank stance.
This sounds obvious, but there is a weird little FFXIV thing where sometimes your stance is already on when you enter a dungeon, and sometimes it isn't—even if you had it on before entering.
I have absolutely made the mistake of thinking:
“I pressed the button.
Then I start pulling.
And suddenly one of the DPS has half the dungeon chasing them.
That's when I immediately realize:
Oh. My stance was off.
So what do I do?
Turn it on, use Provoke on the mobs that ran away, and apologize.

That's it.
Don't panic. Fix the problem and continue.
2. Tank Stance Does NOT Mean You Have Aggro
This is one of the most important things for a new tank to understand:
Having your tank stance on does not automatically mean you have aggro on everything.
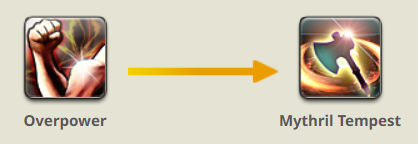
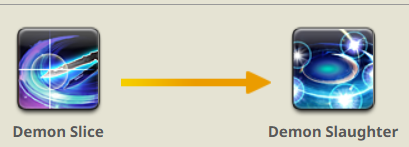
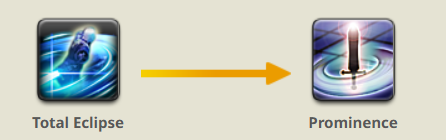
When you're pulling a group of enemies, you need to actually hit every mob.
You can't just turn on your stance, run through the dungeon, and assume everything will follow you.
As you're pulling, make sure you tag each group with your attacks.
Then keep hitting them while you're running.
Why?
Because you want to make sure every enemy is actually following you.
If you run past a mob without hitting it, that mob might decide that the healer or DPS looks much more interesting.
And suddenly your healer has a new pet.
That's not what we want. 😂
 |
 |
 |
 |
Keep Checking Behind You
While you're pulling, don't only look at where you're going.
Look behind you.
Make sure the mobs are actually together and following you.
If one is lagging behind, slow down or adjust your path so you can bring it into the group.
Once you've reached the next pack, position everything together so your AoE attacks can hit all of them.
A tank who keeps the mobs grouped makes the dungeon easier for everyone.
My basic pulling rhythm is:
Hit the mobs → keep moving → check behind you → hit them again → group everything together → stop.
And remember:
Provoke is not your primary way of holding aggro.
Use your attacks to establish and maintain aggro. Use Provoke when something gets away from you and you need to bring it back.
3. Check the Dungeon Level and Your Party
Before deciding how aggressively I want to pull, I check two things:
- What level is the dungeon?
- What jobs are in my party?
The dungeon level matters because your party might not have access to all of their tools yet.
For example, if I'm in a lower-level dungeon and I have a Dragoon and Monk together, I might avoid immediately going wall-to-wall.
At certain levels, they simply don't have the same tools for dealing with multiple enemies that they have at higher levels.
It's not necessarily that they're bad at their jobs.
They literally might not have the skills yet.
The healer is also important.
If I see a Sprout healer, sometimes I'll ask:
“Are you okay with wall-to-wall pulls?”
Sometimes they'll say yes.
Sometimes they'll tell me they're not comfortable with it yet.
And that's completely fine.
A tank doesn't get bonus points for making the healer panic.
4. Wall-to-Wall Pulls Are About Confidence
Most of the time, I do wall-to-wall pulls.
But I don't do them simply because “that's what tanks are supposed to do.”
I do them when I'm confident that I can survive the pull and that my healer can reasonably keep up.
My own self-healing matters a lot here.
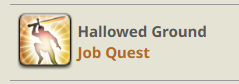
If I'm playing a tank with good self-healing and I have my invulnerability skill ready, I'm much more comfortable taking a large pull.
 |
 |
 |
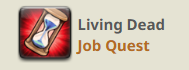 |
Depending on the tank, an invulnerability skill can give you a period where you can survive incoming damage while giving the healer some breathing room.
But this depends on:
- The tank I'm playing
- The dungeon level
- My available cooldowns
- The healer
- The party's overall ability to handle the pull
Wall-to-wall is a tool, not a requirement.
And if the healer tells me they're not comfortable with it?
I adjust.
5. Use Your Mitigation During the Pull

 |
 |
 |
 |
 |
 |
 |
 |
 |
 |
 |
 |
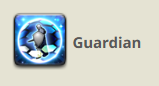
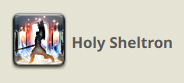
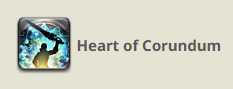
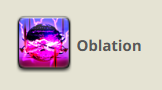
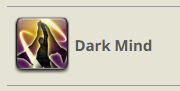
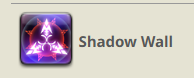
One of the biggest things I learned about tanking is that your defensive cooldowns are not just for bosses.
In fact, large trash pulls can be more dangerous than a boss.
When I'm pulling, I'm already checking my defensive skills.
I usually try to leave at least one important defensive cooldown available for the boss, but I'll use most of my mitigation during the trash pull.
Especially in lower-level dungeons, I use most of the defensive tools I have available while I'm pulling.
Why?
Because having five, six, eight, or more enemies hitting you at the same time can hurt a lot.
Don't save every defensive cooldown for the boss just because the boss looks scarier.
The trash can kill you first.
6. Sprint While You're Pulling
Sprint is a tanking tool.
I use Sprint while pulling, and I use arm's length to my advantage as well.
 |
 |
When you're moving between groups, getting there faster means ranged enemies have less time to attack you.
This is particularly useful because your healer has to keep up with you while also managing their own resources.
And speaking of resources:
The healer has MP to manage too.
Don't make your healer spend everything just because you can technically survive the pull.
You're not the only person playing the dungeon.
7. Keep the Boss Facing Away From the Party
Once you reach the boss, face it away from the party.
Your teammates generally want to attack the boss from behind or from the sides, depending on their job and abilities.
So my basic rule is:
Boss faces me. Boss's back faces the party.
The same idea applies to trash mobs.
While I'm pulling, I try to keep the enemies together and facing me.
If I need to move them, I try to bring them back to the same general position rather than constantly running around in circles.
This makes everyone's job easier.
The DPS don't have to chase enemies around, and the healer has a predictable place to stand and heal.
A good tank isn't just holding aggro.
A good tank is making the battlefield easier for everyone else to use.
8. Learn to Read Tankbuster Markers
Tankbusters are one of the most important mechanics for a tank to recognize.
And you need to pay attention to the details of the marker, not just its general shape.
Solo Tankbuster
If the tankbuster marker is assigned to you alone, that attack is meant for you.
You don't need the other tank to come over and share it.
Use your mitigation appropriately and take the hit.
That's your job.
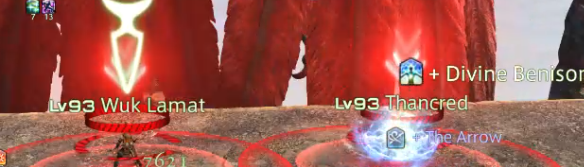
Two Beads = Shared Tankbuster
If you see the two-bead marker, that's a shared tankbuster.
The main tank and off-tank need to stack together and share the damage.
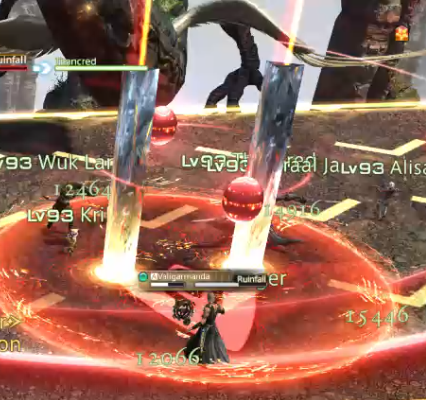
There are also tower-style mechanics that have two beads.
Those are shared tankbusters too.
When you see that version, both tanks need to go into the mechanic together.
Tower With the Red Twisted Line
Now pay attention to the difference.
A tower with no two-bead marker, but with the red twisted line around it, is a mechanic where the tank needs to stand inside the tower.
So don't just memorize:
“Tower = both tanks.”
Look at the marker itself.
Two beads = shared tankbuster.
Red twisted line without the beads = tank needs to take the tower.
Learning these little visual differences makes tanking much easier because you can recognize what the boss wants you to do before the attack happens.
9. Share Markers: Sometimes You Should Join, Sometimes You Shouldn't
Sometimes a teammate gets a share marker.
Your first instinct might be:
“I'm the tank! I should go help them!”
Not necessarily.
Look at the boss first.
If you're certain that the boss won't hit the rest of the party when you move into the share, you can go help your teammate.
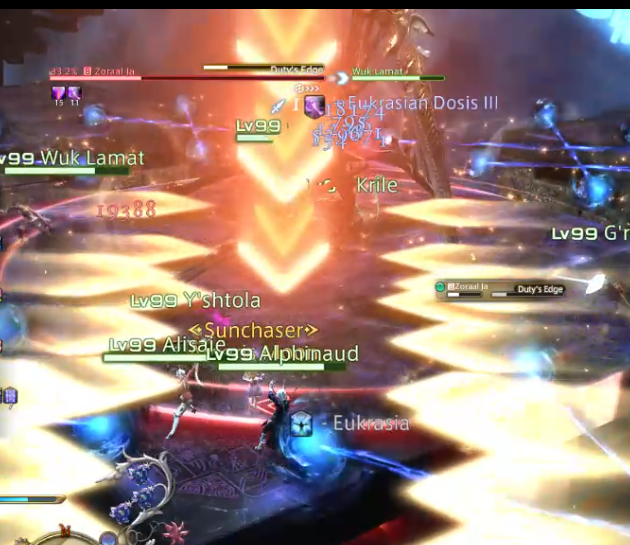
But if moving toward the share would cause the boss to cleave or otherwise hit the rest of the party:
Don't go.
The worst thing you can do is turn the boss toward the party just to help one person with a share mechanic.
Sometimes the safest thing is to stay exactly where you are.
What If There Are Two Share Markers?
If the mechanic gives share markers to two specific people—for example, both healers—then the two tanks should split up.
The main tank goes to share with one healer.
The off-tank goes to share with the other.
This keeps the damage divided between the two groups.
So don't just see a share marker and automatically run toward it.
Look at:
- Who has the marker?
- Where is the boss?
- Where is the rest of the party?
- Will moving the boss cause a cleave to hit everyone?
The marker tells you what the mechanic is. Your positioning tells you how to handle it.
10. Interrupt When You Can
 |
 |
Pay attention to enemy casts.
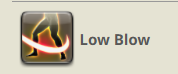
If a mob has an ability that you can interrupt, interrupt it.
If the boss has something you can interrupt, even better.
Not every cast can be interrupted, and not every mechanic needs to be interrupted.
But if you have the ability to stop a dangerous attack, why not?
It's one of those small things that can make a dungeon smoother.
11. Gunbreaker: Keep an Eye on Your Emergency Healing
This is particularly important for me when I'm playing Gunbreaker.
Gunbreaker doesn't have as much self-healing as some of the other tanks, so I usually keep potions available for emergencies.
I don't normally need them every pull.
But if things go horribly wrong and I need that extra bit of HP, I'd rather have the potion than wish I had one.
It's an emergency button.
12. And Yes, I Carry Phoenix Downs
This one isn't really a tank-specific skill, but I usually keep Phoenix Downs on all of my tanks.
Why?
Because sometimes the healer dies.
And if the healer is down while the tank is still alive, I can sometimes keep myself alive long enough to give the party a chance to recover.
It's not always possible.
But having the option is better than not having one.
The Golden Rule of Tanking
You don't have to pull wall-to-wall every single time.
You don't have to know every dungeon perfectly.
You don't have to be the world's greatest tank.
What you do need to do is pay attention.
Check your stance.
Hit every mob.
Make sure they're following you.
Check your party.
Check your cooldowns.
Watch your HP.
Watch the healer.
Keep the enemies together.
Face the boss away from the party.
Learn the tankbuster markers.
And if something goes wrong?
Fix it.
That's tanking.
You're the person standing in front of the monsters, but you're also the person making the dungeon easier for the other three people in your party.
And honestly, once you stop thinking of tanking as:
“I have to survive everything by myself.”
and start thinking of it as:
“I'm controlling the situation so everyone can do their job.”
…it gets a lot less scary.
And that's really what Tank 101 is about.